Mail for Mac OS X 10.3 and 10.4
The guide will step you through adding an email account to Mail on Mac OS X 10.3 and 10.4.
To open Mail, click its icon in the Dock or browse to the Mail application location at "Macintosh HD", "Applications" and then "Mail".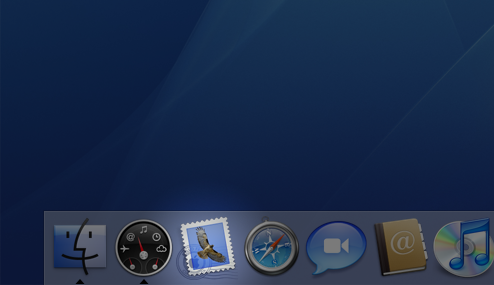
If this is the first time you have opened Mail up, you will be prompted to set up a new Mail account. You can set one up now by following the procedure outlined below.
If you have already set an account up in Mail once before and wish to add a new email account, click on "File" then "Add Account" and follow the same procedure outlined below.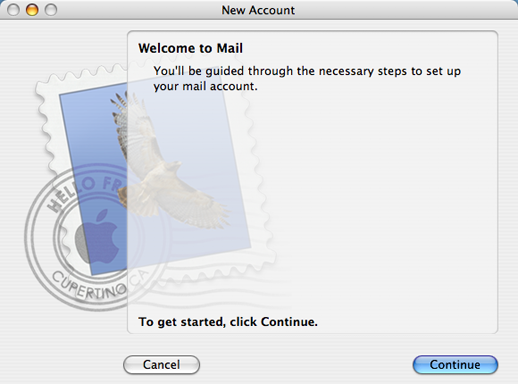
Select the option "POP" from the dropdown labelled "Account Type"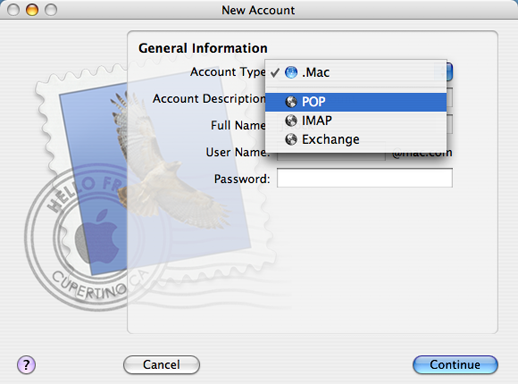
Type in the name you'd like to appear on any emails you send from this account. Add your email address in the "Email Address" field.
Click "Continue" to progress to the next page.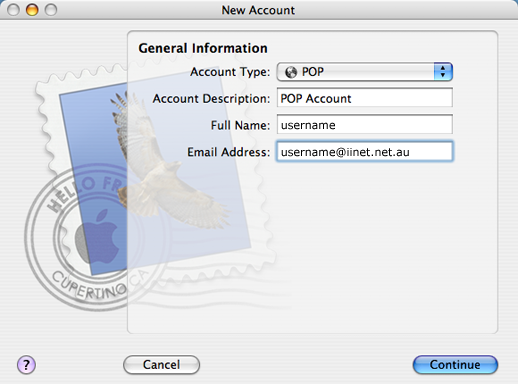
Enter mail.iinet.net.au in the field labelled "Incoming Mail Server", your username (which should be the beginning of your email address) and password for the account or mailbox.
Click on "Continue" and Mail will attempt to verify your settings by logging in. If you are not connected to the Internet you will get an error, but don't worry about that at this stage.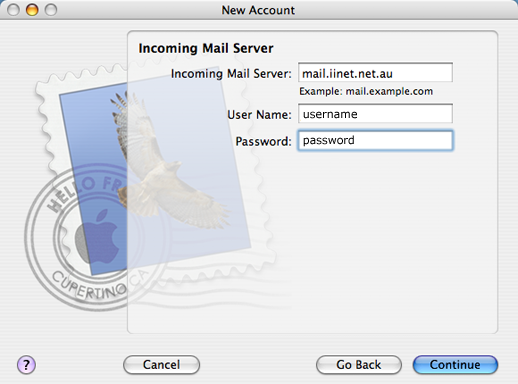
Leave the box labelled "Use Secure Sockets Layer (SSL)" unchecked. It is not required for email addresses.
Ensure that "Password" is selected in the "Authentication" dropdown box. Click "Continue".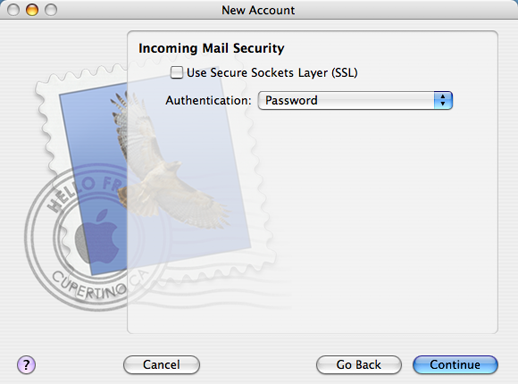
Enter mail.iinet.net.au in the field labelled "Outgoing Mail Server".
Leave the remaining boxes and fields blank and click "Continue".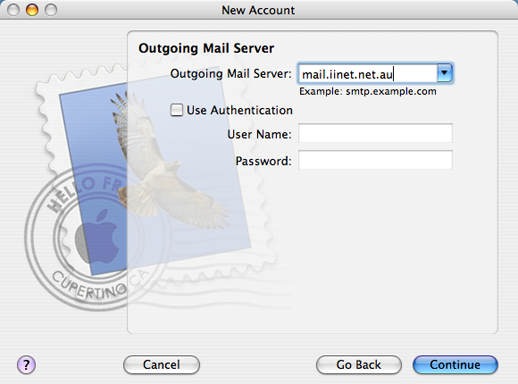
Leave "Use Secure Sockets Layer (SSL)" unticked and click "Continue".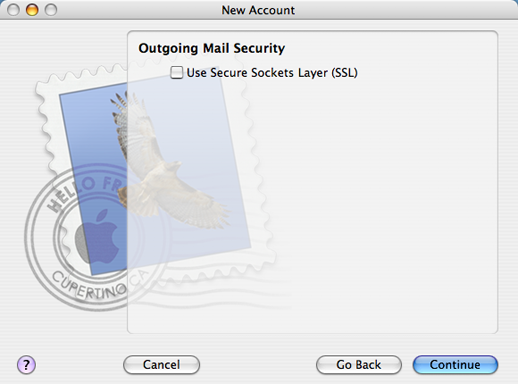
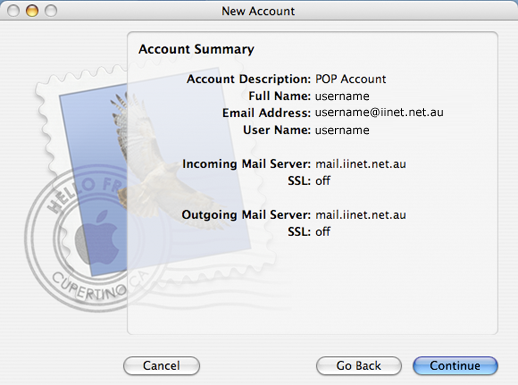
You will be presented with a final summary of the details you have entered to confirm they are correct. The following screen shows an example of this summary. Check all your details and if you're happy, click "Continue".
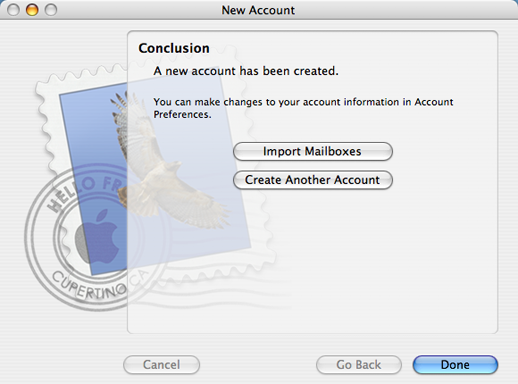
If you would like to add details for another email account, click "Create Another Account" and go through the above process again. Otherwise, click "Done".